How to Fold an Origami Corner Bookmark
The origami corner bookmark is a small square with a triangular pocket that slides over the corner of a page to mark your place. It is an easy model folded from one square in four steps and takes about three minutes, which makes it a favourite classroom craft.
Quick answerThe origami corner bookmark is an easy model folded in 4 steps and about 3 minutes, using the crease. You need one square, 15 cm (6 in), which makes a bookmark about 7.5 cm (3 in) along each side.
- Difficulty
- Easy
- Time
- About 3 min
- Steps
- 4
- Paper
- One square, 15 cm (6 in), which makes a bookmark about 7.5 cm (3 in) along each side
Turn the square so it sits like a diamond with the white side up, then fold the bottom corner up to the top corner to make a triangle.
Tip: swipe the diagram, or use ← → on your keyboard. Space plays and pauses.
All steps
Advertisement
Step-by-step instructions
The same 4 steps as the animation above, written out so you can fold away from the screen.
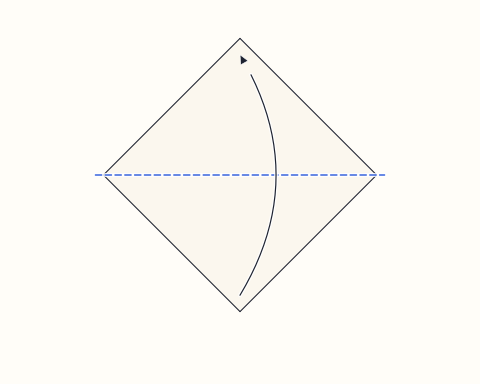
Step 1
Turn the square so it sits like a diamond with the white side up, then fold the bottom corner up to the top corner to make a triangle.
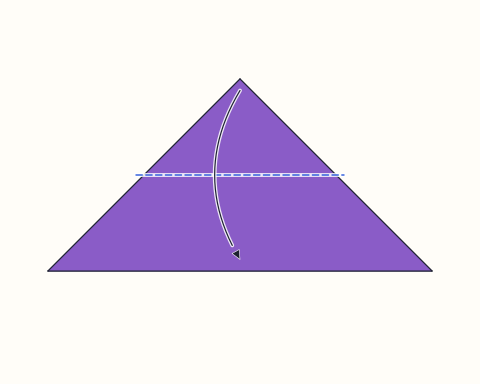
Step 2
Take just the front layer at the top corner and fold it down so its point touches the middle of the bottom edge. This small triangle forms the pocket.
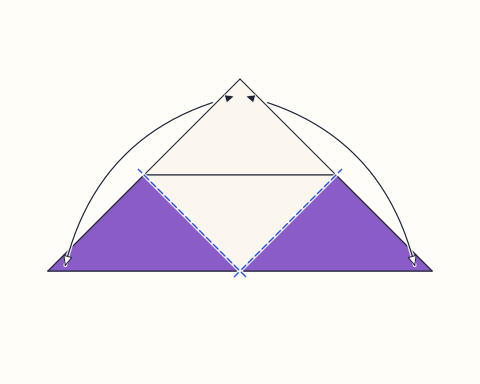
Step 3
Fold the left and right corners up so each point meets the top corner, which turns the model into a square. Crease well, then open both corners back out.
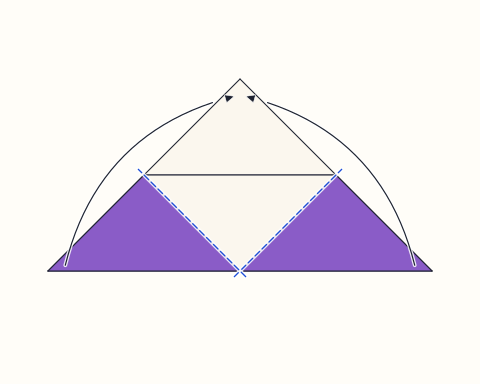
Step 4
Fold the two corners up again along the same creases, but this time slide each one inside the pocket so it goes under the front triangle.
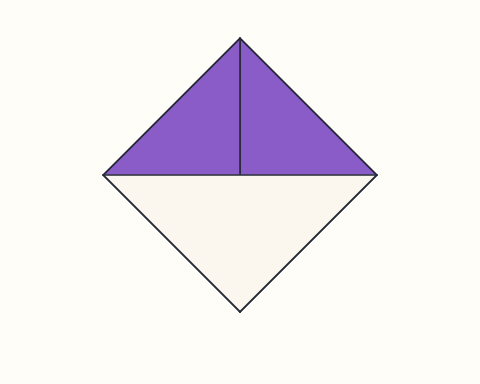
Finished
Your corner bookmark is ready: slide the pocket at the bottom corner over the corner of a page and close the book. Draw eyes, teeth or ears on the front to turn it into a monster, animal or character.
About the origami corner bookmark
The corner bookmark is a traditional paper craft passed around classrooms and libraries, and it has no known inventor. It uses the same diagonal triangle that starts many simple models, then adds a pocket and a tuck so the finished square holds together without glue. Because it wraps around the corner of a page instead of sitting between pages, it will not fall out when a book is dropped into a bag, and it does not add bulk to the spine.
Its popularity owes a lot to how easy it is to personalise. Folded from plain paper it becomes a canvas for drawing monsters, owls, cats, foxes and favourite characters, and folded from patterned paper it makes a tidy little gift to tuck inside a book. Teachers often use it as a first origami project at the start of the school year or on book days, since the steps are few and every child finishes with a working bookmark.
If your young folders enjoy adding faces, try the Dog Face and Fox Face, which are folded from the same starting triangle. To present a bookmark as a gift, slip it into an Origami Envelope with a note, or pair it with an Origami Heart for a card that doubles as a keepsake.
Origami corner bookmark: questions
How does a corner bookmark stay on the page?+
The pocket at the bottom corner is open between the front and back layers. When you slide it over the corner of a page, the paper grips the page on both sides, so it stays put when the book is closed and does not slip out like a flat bookmark can.
How do you make a monster corner bookmark?+
Fold the bookmark as shown, then draw or glue eyes on the top half and cut a zigzag of white paper as teeth to stick along the edge of the front triangle, which becomes the mouth. Paper ears, horns or tongues can be glued on the back so they stick out.
What size paper should I use for a corner bookmark?+
The finished bookmark is half the width of the square. A 15 cm (6 in) square makes a bookmark about 7.5 cm (3 in) across, which suits most paperbacks. Use a 10 cm square for small notebooks or a 20 cm square for large picture books.
Is the corner bookmark good for kids?+
Yes. It uses only simple valley folds and one tuck, children aged about six and up can usually fold it with a little help, and they end up with something useful to decorate and keep in their reading book.
Fold this next
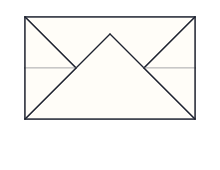
Envelope
The origami envelope is a small rectangular letter envelope folded from a single square that locks shut by tucking the top flap under the bottom one, so it needs no glue or tape. It is an easy model with four folds and takes about three minutes.
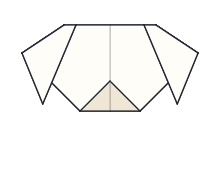
Dog Face
The origami dog face is a simple puppy head with floppy ears folded from one square, and children often draw on eyes and a nose to finish it. It is very easy and takes about three minutes, making it ideal for first-time folders.
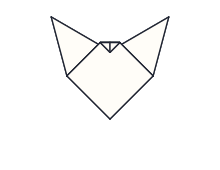
Fox Face
The origami fox face is a pointed fox head with tall ears, folded from one square in five steps and finished with drawn eyes and a nose. It is an easy model that takes about three minutes.
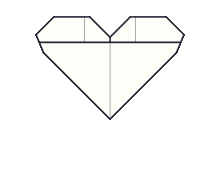
Origami Heart
The origami heart is a flat, symmetrical heart shape folded from one square, ideal for slipping into a card or envelope. It is an easy model that takes around five minutes and uses only simple valley and mountain folds.