How to Fold an Origami Fox Face
The origami fox face is a pointed fox head with tall ears, folded from one square in five steps and finished with drawn eyes and a nose. It is an easy model that takes about three minutes.
- Difficulty
- Easy
- Time
- About 3 min
- Steps
- 5
- Paper
- A 15 cm (6 in) square, traditionally orange
Place the square as a diamond, white side up, and bring the upper corner down onto the lower one.
Tip: swipe the diagram, or use ← → on your keyboard. Space plays and pauses.
All steps
Step-by-step instructions
The same 5 steps as the animation above, written out so you can fold away from the screen.
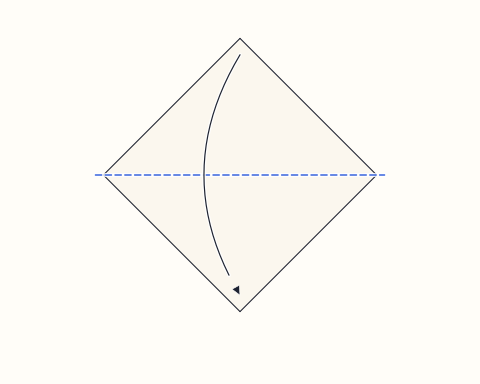
Step 1
Place the square as a diamond, white side up, and bring the upper corner down onto the lower one.
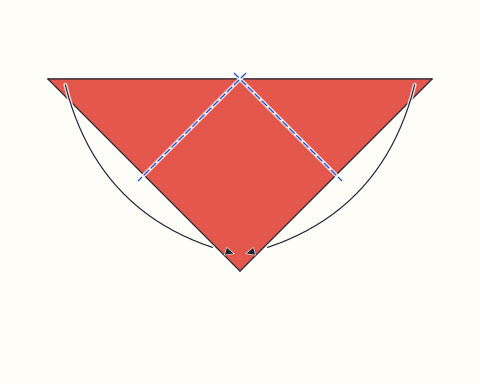
Step 2
Carry both side corners down to the lower tip so a smaller diamond forms.
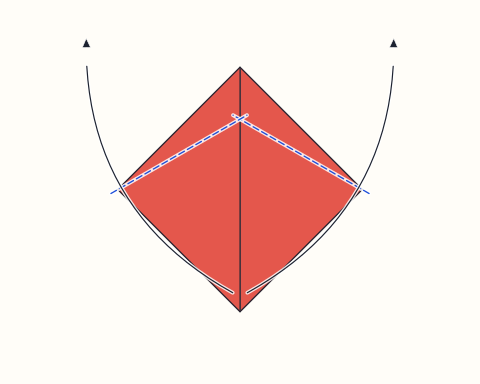
Step 3
Working from each flap’s outer corner, fold its lower half upward and outward so the tips poke above the top edge as ears.
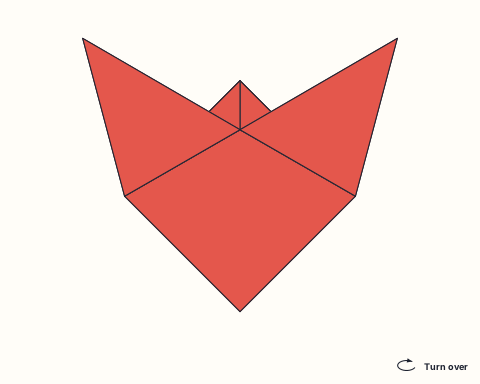
Step 4
Flip the model over.
Step 5
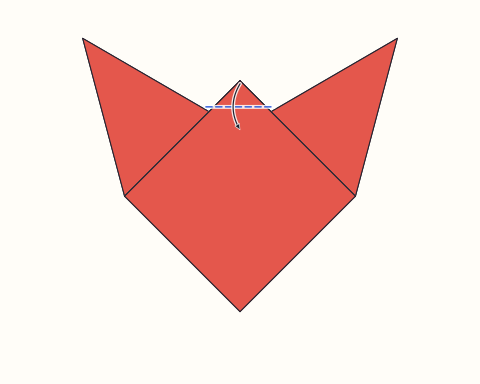
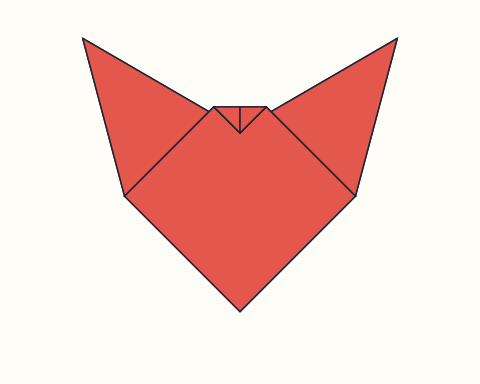
Fold down a small amount of the top corner to flatten the crown between the ears.
Finished
Add eyes and a black nose to the pointed snout and the fox face is finished.
About the origami fox face
The fox face is a traditional quick model, loved for how instantly recognizable it looks after only five folds. Its tall ears and pointed snout come straight from the geometry of a folded triangle, with no extra shaping needed. Like the dog face, it is usually finished with drawn features, and children enjoy making whole families of foxes in different sizes. Orange paper is the classic choice, but red, gray or white squares turn it into other fox species and make a fun talking point about animals in different habitats.
The sequence teaches folding to a point and folding from a corner along a slanted line. The ears come from lifting part of each flap up and outward, a small move that is at the heart of many animal heads in origami. Turning the paper over and adjusting the top corner then shows how one modest fold can refine the whole silhouette, flattening the crown between the ears. Because every step is visible and there are no hidden layers to manage, it is an ideal model for building a young folder’s confidence.
Finished foxes make lively bookmarks, card toppers and autumn decorations, especially next to paper leaves. You can also glue one to a craft stick for a simple puppet. Set the fox beside the Dog Face, or add the Fish for a small animal set. The Samurai Helmet uses the same smaller diamond as its starting point before turning the flaps into horns, which makes an interesting comparison. The Tulip is another very quick model that young folders can finish in just a few minutes.
Origami fox face: questions
Is the fox face suitable for preschoolers?+
Yes. With five large folds, it is a good early model for children around four and older. Adults can help line up the ears.
What color paper should I use for a fox?+
Orange is traditional, but red, brown or white work for different fox species. Paper colored on one side keeps the face bright and the details clear.
How is the fox face different from the dog face?+
Both start from a triangle, but the fox has tall, pointed ears folded upward, while the dog’s ears hang down. The fox also has a sharper snout.
What can I do with origami foxes?+
Make puppets, bookmarks or card decorations. They also make charming decorations for autumn displays alongside paper leaves.
Fold this next
Dog Face
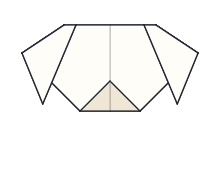
The origami dog face is a simple puppy head with floppy ears folded from one square, and children often draw on eyes and a nose to finish it. It is very easy and takes about three minutes, making it ideal for first-time folders.
Fish
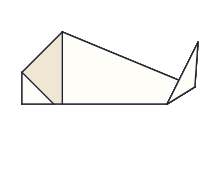
The origami fish is a simple flat fish with a blunt nose and an upturned tail, folded from a kite shape made from one square. It is easy and takes about four minutes, so it suits children and complete beginners.
Samurai Helmet
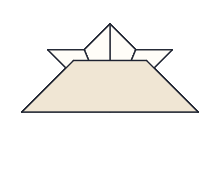
The origami samurai helmet, or kabuto, is a traditional Japanese model with two horns and a brim, folded from one square. It is easy, takes about four minutes, and can be made large enough to wear by using a big newspaper square.
Tulip
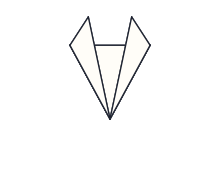
The origami tulip is a flat flower head made from a single square in three folds, designed to be joined to a separate folded stem. It is one of the easiest models on the site and takes about three minutes.