How to Fold an Origami Tulip
The origami tulip is a flat flower head made from a single square in three folds, designed to be joined to a separate folded stem. It is one of the easiest models on the site and takes about three minutes.
- Difficulty
- Easy
- Time
- About 3 min
- Steps
- 3
- Paper
- A 15 cm (6 in) square in a flower color such as red, pink, yellow or purple
Lay the square as a diamond, white side up, and bring the upper corner down onto the lower corner to form a triangle.
Tip: swipe the diagram, or use ← → on your keyboard. Space plays and pauses.
All steps
Advertisement
Step-by-step instructions
The same 3 steps as the animation above, written out so you can fold away from the screen.
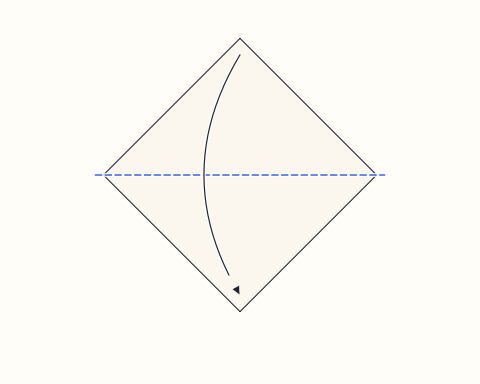
Step 1
Lay the square as a diamond, white side up, and bring the upper corner down onto the lower corner to form a triangle.
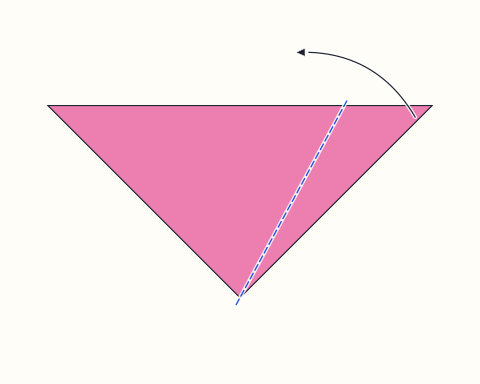
Step 2
Swing the right-hand corner upward on a fold that starts at the bottom tip, so the point rises above the top edge and leans slightly outward.
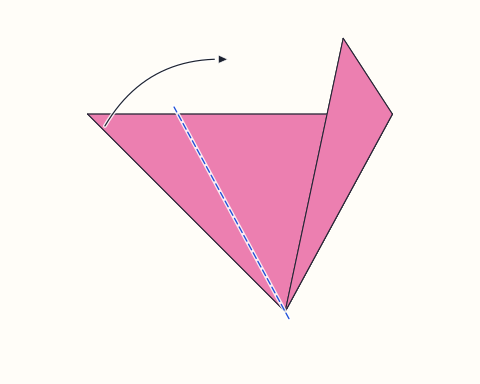
Step 3
Mirror that fold with the left corner. These two points form the outer petals.
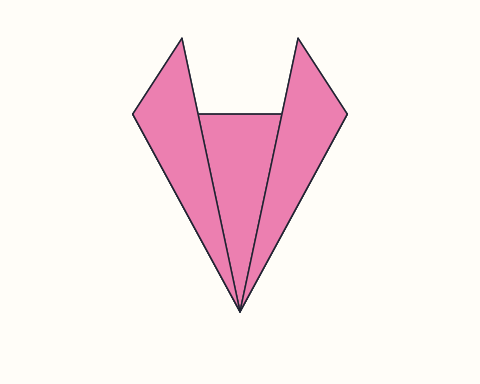
Finished
The tulip bloom is finished. Make a stem from a green square (see the Tulip Stem diagram) and tuck its tip into the opening beneath the bloom.
About the origami tulip
This tulip is a traditional two-part model: a flower head from one square and a stem with a leaf from another. The bloom on its own takes just three folds, which makes it a favorite in kindergartens, libraries and family craft sessions. The result is flat, so it works especially well glued onto cards and posters, or displayed in a row along a windowsill. Because it uses so little paper and time, a whole class can produce a spring meadow in a single lesson, with every child choosing a different petal color.
Even with so few steps, the flower teaches an important skill: folding from a fixed point. Both petals hinge on the bottom tip of the triangle, and small changes in angle alter the character of the flower. Children quickly discover that they can make a narrow, upright tulip or a wide, open one simply by changing where the fold lands. That experiment is a small, satisfying introduction to the idea that origami is not only about copying a diagram exactly but also about making choices that give a model its own personality.
To complete the flower, fold the Tulip Stem from a green square of the same size and slide it into the pocket underneath the bloom. A handful of finished tulips looks charming standing in a Paper Cup used as a vase. Once you have a few, the Butterfly makes a nice garden companion, and the Heart pairs well for Mother’s Day or birthday cards. For another very quick model to fold alongside, try the Fox Face, which starts from the same triangle and takes about the same three minutes.
Origami tulip: questions
How do I attach the tulip to its stem?+
Fold the Tulip Stem from a green square of the same size. The top of the stem slides into the open pocket at the bottom of the flower. Add a little glue if you want it to stay permanently.
Is the origami tulip suitable for young children?+
Yes. With only three folds, it is a common first model for preschoolers and early primary school children. An adult may need to help line up the first triangle.
What can I do with origami tulips?+
They are popular for Mother’s Day cards, spring classroom displays and paper bouquets. Glue them onto card for a flat picture, or stand several stems in a paper cup or vase.
What size paper should the flower be?+
Use the same size square for the flower and the stem, typically 15 cm (6 in). Matching sizes make sure the stem fits the pocket at the base of the bloom.
Fold this next
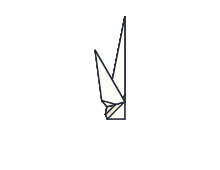
Tulip Stem
The origami tulip stem is a slim green stalk with an attached leaf, folded from one square to support the origami tulip bloom. It is easy, takes about three minutes, and uses a series of narrowing folds to the center line.
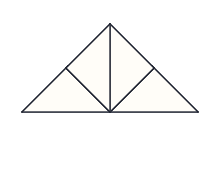
Butterfly
The origami butterfly is a small model with four wings and a locked body, folded from a square using the waterbomb base. It is a comfortable intermediate model that takes about six minutes and introduces collapsing a base.
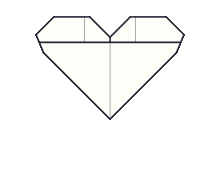
Origami Heart
The origami heart is a flat, symmetrical heart shape folded from one square, ideal for slipping into a card or envelope. It is an easy model that takes around five minutes and uses only simple valley and mountain folds.
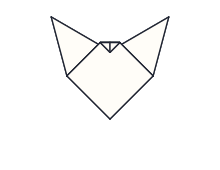
Fox Face
The origami fox face is a pointed fox head with tall ears, folded from one square in five steps and finished with drawn eyes and a nose. It is an easy model that takes about three minutes.