How to Fold an Origami Tulip Stem
The origami tulip stem is a slim green stalk with an attached leaf, folded from one square to support the origami tulip bloom. It is easy, takes about three minutes, and uses a series of narrowing folds to the center line.
- Difficulty
- Easy
- Time
- About 3 min
- Steps
- 7
- Paper
- A green square matching the size of your tulip flower
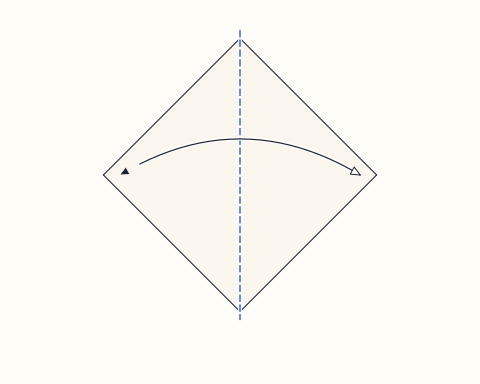
Take a green square matching the flower’s size, white side up and turned as a diamond. Fold the left corner to the right corner, crease, and open.
Tip: swipe the diagram, or use ← → on your keyboard. Space plays and pauses.
All steps
Step-by-step instructions
The same 7 steps as the animation above, written out so you can fold away from the screen.
Step 1
Take a green square matching the flower’s size, white side up and turned as a diamond. Fold the left corner to the right corner, crease, and open.
Step 2
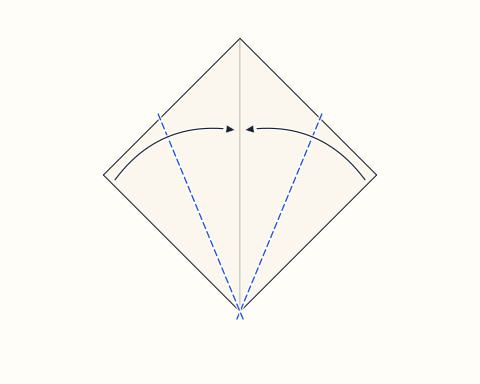
Bring both lower edges inward so they meet at the center line.
Step 3
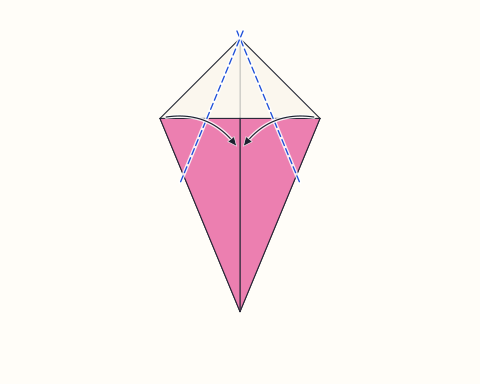
Fold both upper edges to the center line as well.
Step 4
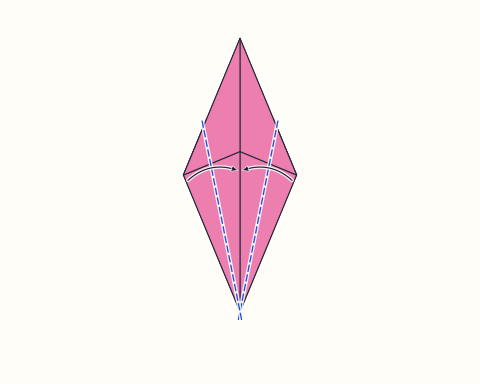
Once more, fold the lower edges inward to the middle crease; the bottom half becomes a thin stalk.
Step 5
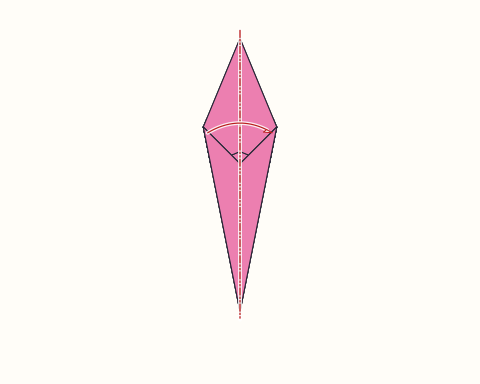
Mountain fold the model in half along the middle crease, sending the left side behind.
Step 6
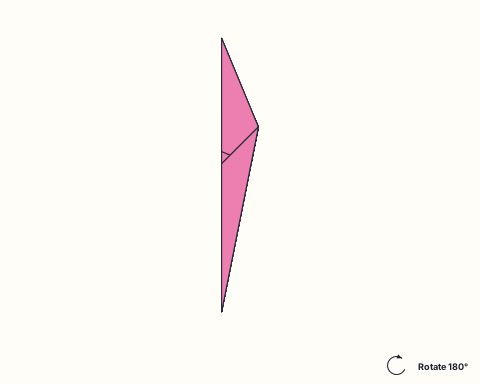
Rotate the model half a turn so the narrow stem points up and the broad part sits at the bottom.
Step 7
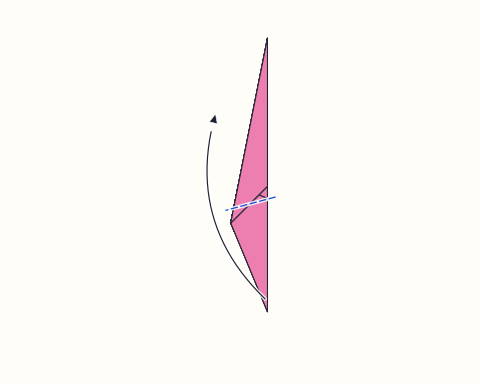
Swing the broad end up and out toward the left on a diagonal fold; the narrow section is the stem and the broad section becomes a leaf.
Finished
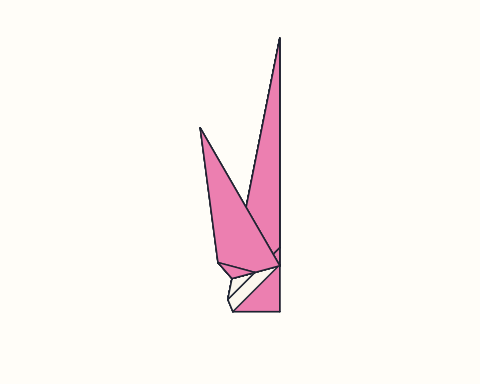
Insert the tip of the stem into the opening beneath the tulip bloom. Fold several and arrange them in a small vase, or mount them on a greeting card.
About the origami tulip stem
The stem is the second half of the traditional two-piece tulip. Folded from a green square, it produces a long, slender stalk with a single leaf angled off to one side. Together with the bloom, it creates a flower that is recognizable at a glance, and it is often folded in quantity for spring decorations, Mother’s Day cards and classroom bouquets. On its own the stem is also handy as a leaf for other paper flowers, or as grass-like greenery when several are glued in a row along the bottom of a picture.
The stem is built almost entirely from one move repeated: folding edges to a center line. Each round makes the paper narrower, and you can feel the layers building up under your fingers. It is a great exercise in keeping edges aligned exactly along a crease, a skill that transfers directly to the Paper Crane and the Masu Box. The final slanted fold shows how a single fold can create a completely new element, turning the wide end of the paper into a leaf whose angle you can choose to make the plant look upright or windswept.
Join the stem to the Tulip flower, of course, and make several in slightly different greens for a natural bunch. The narrowing technique that starts from a kite shape also appears in the Fish, which begins from a very similar kite before turning it into a body and tail. To build a full paper garden, add a Butterfly or two above the flowers. If you want the bouquet to stand, a Paper Cup folded from sturdy paper makes a simple vase that holds a few stems upright.
Origami tulip stem: questions
Do I need a special color for the stem?+
Green paper is traditional, but any color works. Paper that is green on one side and white on the other is ideal because the green faces outward once folded.
Why doesn’t my stem fit into the flower?+
The two papers are probably different sizes. Use squares of equal size, and make sure the stem’s narrowed tip is folded tightly so it slips into the pocket easily.
How do I make the tulip stand up?+
The flat stem will not stand on its own, but you can place several in a small vase or a folded Paper Cup. For display, glue the leaf and flower onto a card.
Is the stem harder than the flower?+
Slightly, because it has more folds and the layers get thick. It is still a beginner model and good practice for folding edges accurately to a center line.
Fold this next

Tulip
The origami tulip is a flat flower head made from a single square in three folds, designed to be joined to a separate folded stem. It is one of the easiest models on the site and takes about three minutes.
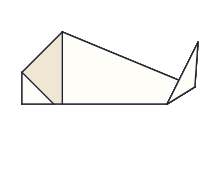
Fish
The origami fish is a simple flat fish with a blunt nose and an upturned tail, folded from a kite shape made from one square. It is easy and takes about four minutes, so it suits children and complete beginners.
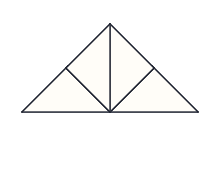
Butterfly
The origami butterfly is a small model with four wings and a locked body, folded from a square using the waterbomb base. It is a comfortable intermediate model that takes about six minutes and introduces collapsing a base.
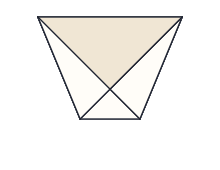
Paper Cup
The origami paper cup is a small open container folded from a single square that can briefly hold water or dry snacks. It is one of the easiest origami models and takes about two minutes, making it a classic first project.