How to Fold an Origami Penguin
The origami penguin is a flat penguin seen from the front, with a dark back and wings, a white belly, a white face and a small dark beak, folded from one square that is dark on one side and white on the other. It is an easy model of six steps that takes about three minutes, using only valley and mountain folds.
Quick answerThe origami penguin is an easy model folded in 6 steps and about 3 minutes, using only valley and mountain folds. You need a 15 cm (6 in) square, black or dark blue on one side and white on the other.
- Difficulty
- Easy
- Time
- About 3 min
- Steps
- 6
- Paper
- A 15 cm (6 in) square, black or dark blue on one side and white on the other
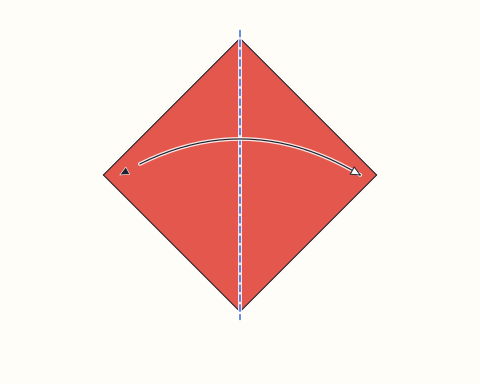
Place the square as a diamond with the coloured side facing you, fold it in half from left to right, and open it again to leave a vertical crease.
Tip: swipe the diagram, or use ← → on your keyboard. Space plays and pauses.
All steps
Advertisement
Step-by-step instructions
The same 6 steps as the animation above, written out so you can fold away from the screen.
Step 1
Place the square as a diamond with the coloured side facing you, fold it in half from left to right, and open it again to leave a vertical crease.
Step 2
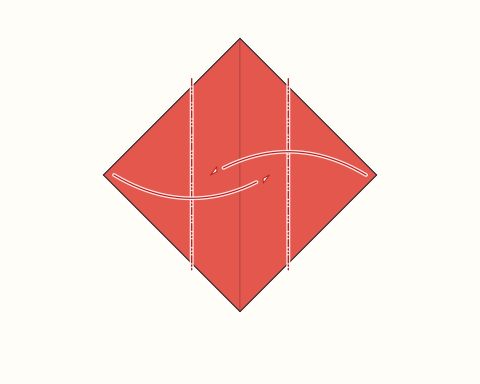
Mountain fold the left and right corners behind along vertical lines, so the diamond becomes a tall, narrow six-sided strip.
Step 3
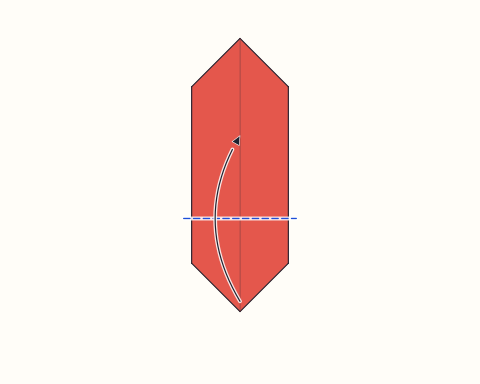
Fold the bottom point up so its tip sits a little above the middle. A white diamond appears in the lower half: this is the belly, with the coloured flaps from behind now framing it as wings.
Step 4
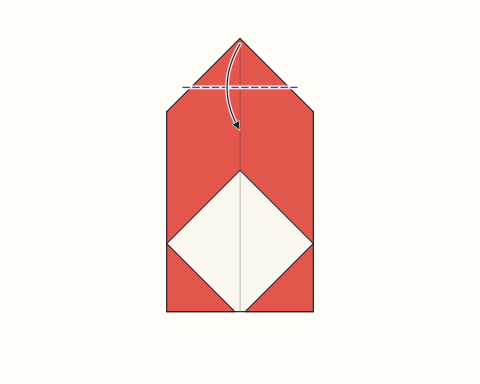
Fold the top point down a short way. The small white triangle is the penguin's face.
Advertisement
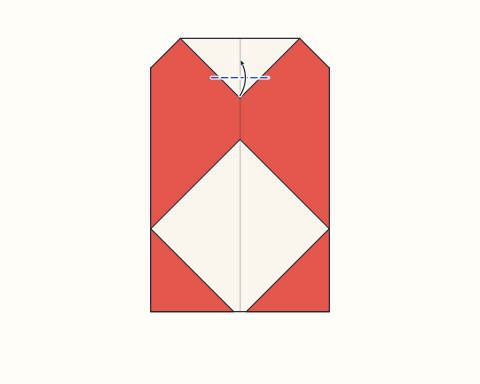
Step 5
Fold the tip of that white triangle back up, so a little coloured point shows in the middle of the face as the beak.
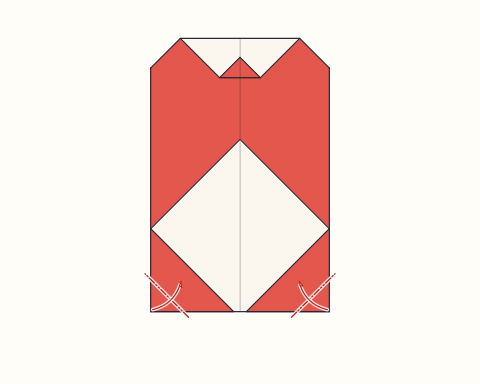
Step 6
Mountain fold the two bottom corners behind by a small amount to round off the base of the body.
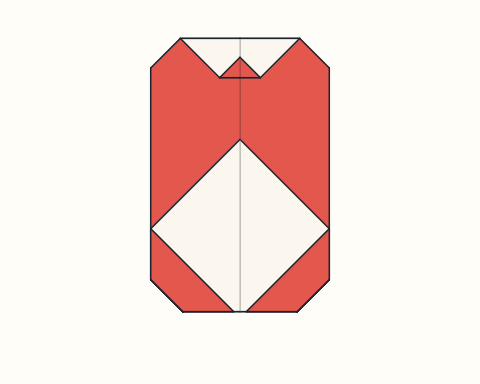
Finished
Draw two eyes on the white face on either side of the beak. The finished penguin has a dark back and wings, a white face and a white belly, and looks great glued onto a card or a winter display.
About the origami penguin
Simple folded penguins are a long-standing favourite in beginner origami, because the two colours of a sheet of origami paper map so neatly onto the bird: a dark back and head, and a white front. This version faces you, with dark wings framing a white belly, a white face below the dark crown and a tiny dark beak in the middle. It is a flat model, so it is perfect for cards, classroom winter displays and scrapbooks, and a row of penguins in different sizes quickly becomes a whole colony.
The sequence is short but shows a neat idea: which side of the paper you see depends on how many times it has been turned by folds. Folding the sides behind first hides them, and folding the bottom point up then brings them back to the front with their coloured side showing, framing the white belly without any extra work. The face and beak are a small pleat, a fold down followed by a fold back up, which is a common way to add detail to animal heads. Rounding the corners behind at the end is a first taste of shaping a silhouette with small mountain folds.
Penguins look charming in groups, so try a parent and chick in two sizes, or glue several onto white card as an ice floe. The Whale and the Fish make good companions for an ocean scene, and the Swan is a natural next step, adding outside reverse folds for its raised neck. If you want a quick warm-up for younger children, the Cat Face and the Dog Face use the same kind of simple valley folds.
Origami penguin: questions
What paper should I use for an origami penguin?+
Use a square that is dark on one side and white on the other. The dark side becomes the back, wings and head, and the white side shows as the belly and face. Standard 15 cm kami is ideal; with plain paper, colour one side with a marker before you start.
Is the origami penguin suitable for young children?+
Yes. It uses only valley and mountain folds, and every fold lines up with a crease, a point or the middle of the model. Children from about five can usually fold it with a little help keeping the side folds even.
Why does the belly look like a diamond?+
When the bottom point folds up, it brings the white back of the paper to the front, and the side flaps folded behind in step 2 come up with it. Their coloured side now faces you and frames the white area, which is why the belly has a pointed top and bottom.
How can I make the penguin stand up?+
This penguin is flat. To display it standing, glue it to a folded card, or tape a small triangle of card to the back as a stand.
Can I fold a penguin from printer paper?+
You can, as long as you cut it into a square first. Printer paper is white on both sides, so colour one side dark before folding, otherwise the belly and back will be the same colour.
Fold this next
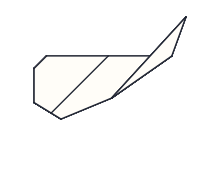
Whale
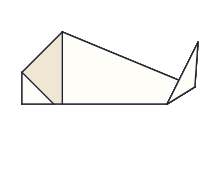
The origami whale is a flat whale with a large rounded head, a straight back and a tail that rises behind it, folded from a kite shape made from one square. It is an easy model of six steps that takes about four minutes, which makes it a good choice for children and beginners.
Swan
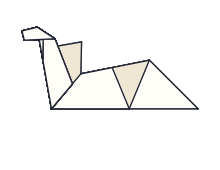
The origami swan is the traditional simple swan with a raised neck and a head that points forward, folded from a kite shape made from one square. It is an easy model that takes about five minutes; the only moves that need care are the two outside reverse folds at the end.
Fish
The origami fish is a simple flat fish with a blunt nose and an upturned tail, folded from a kite shape made from one square. It is easy and takes about four minutes, so it suits children and complete beginners.
Cat Face
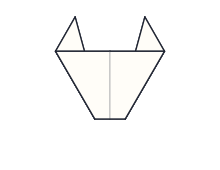
The origami cat face is a kitten's head with two pointed ears and a blunt chin, folded from one square and finished with drawn eyes and whiskers. It is a very easy model with five folds and takes about three minutes, so it suits young children and first-time folders.