How to Fold an Origami Swan
The origami swan is the traditional simple swan with a raised neck and a head that points forward, folded from a kite shape made from one square. It is an easy model that takes about five minutes; the only moves that need care are the two outside reverse folds at the end.
Quick answerThe origami swan is an easy model folded in 10 steps and about 5 minutes, using the outside reverse fold. You need a 15 cm (6 in) square; white paper gives the classic look.
- Difficulty
- Easy
- Time
- About 5 min
- Steps
- 10
- Paper
- A 15 cm (6 in) square; white paper gives the classic look
Set the square down as a diamond with the white side up, fold it in half from left to right, and open it to leave a vertical crease.
Tip: swipe the diagram, or use ← → on your keyboard. Space plays and pauses.
All steps
Advertisement
Step-by-step instructions
The same 10 steps as the animation above, written out so you can fold away from the screen.
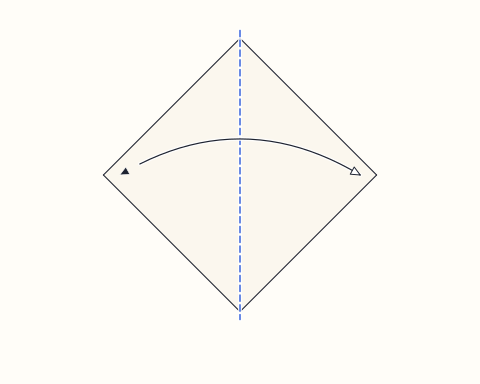
Step 1
Set the square down as a diamond with the white side up, fold it in half from left to right, and open it to leave a vertical crease.
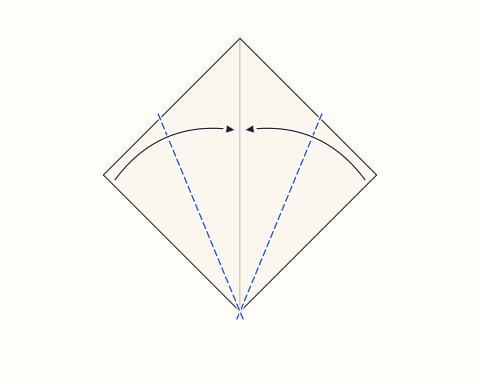
Step 2
Fold the two lower edges in so they lie along the vertical crease, making a kite with its long point at the bottom.
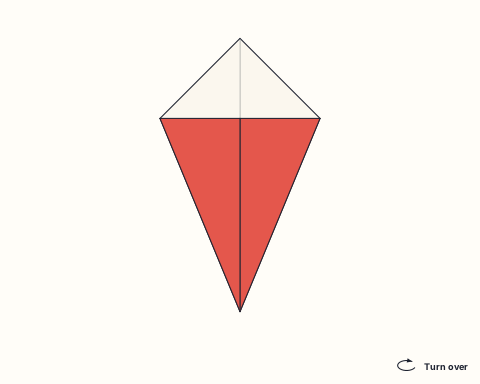
Step 3
Flip the kite over.
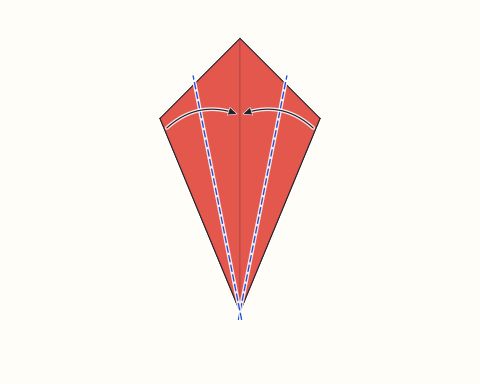
Step 4
Fold the two lower edges in to the middle crease again. The kite becomes long and slender.
Advertisement
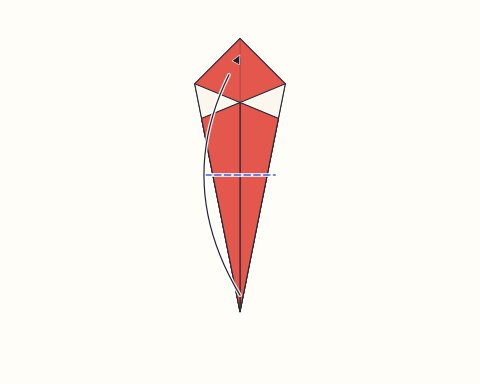
Step 5
Fold the long bottom point up so its tip meets the top point. This long flap will become the neck.
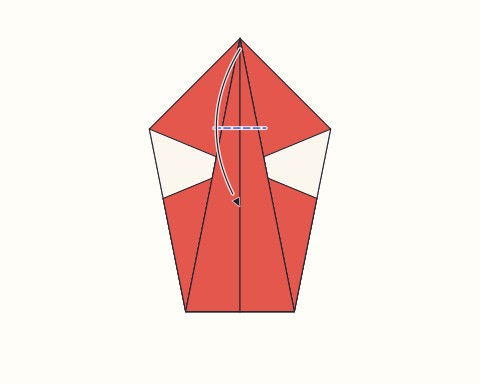
Step 6
Fold the tip of that flap back down a short way to form the head.
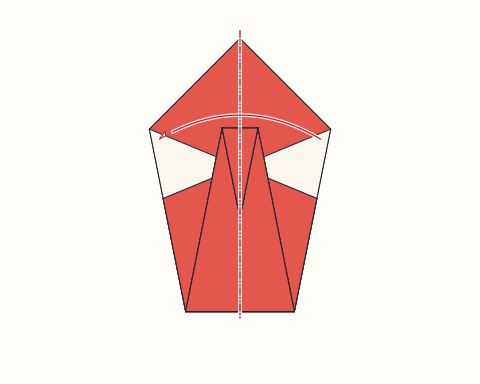
Step 7
Mountain fold the model in half along the middle crease, sending the right half behind.
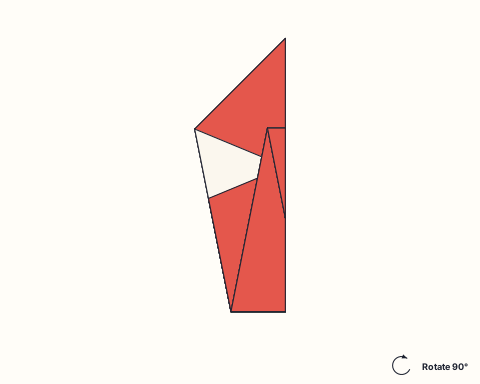
Step 8
Turn the model a quarter turn so the folded edge runs along the bottom, with the neck at the left.
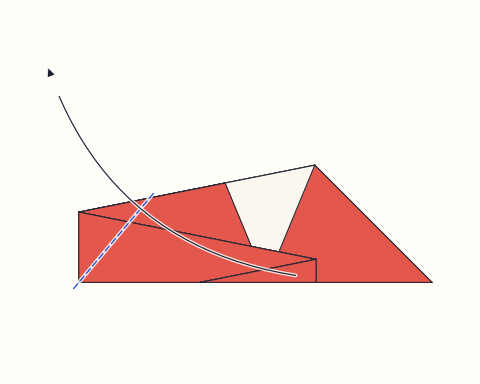
Step 9
Make an outside reverse fold at the base of the neck: open the layers a little, swing the long point up around the outside of the body along the slanted line, and flatten it so the neck stands up.
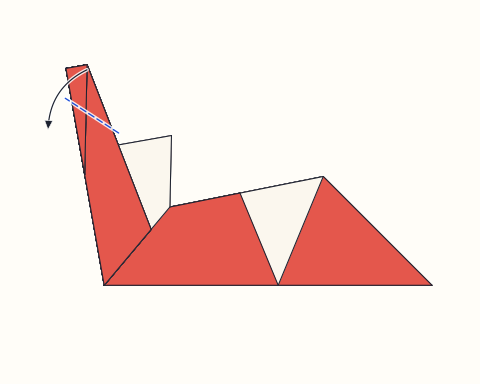
Step 10
Make a second, smaller outside reverse fold near the top of the neck so the head points forward.
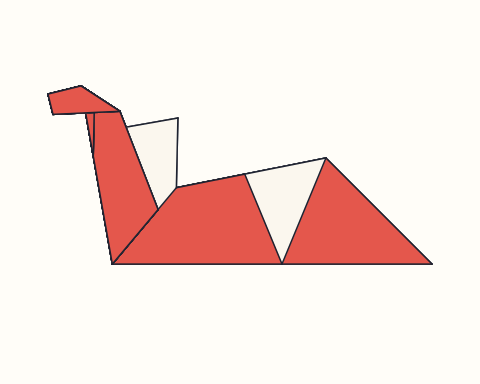
Finished
Spread the two halves of the body a little underneath so the swan sits upright, and curve the neck gently with your fingers. White paper gives the classic look; a black square makes a black swan.
About the origami swan
The simple swan is one of the best-known traditional origami models and a staple of beginner books around the world. Its appeal lies in how naturally the kite shape becomes a bird: the wide end forms the body with a pointed tail, while the long, narrow point turns into an elegant neck. The finished swan sits flat with its neck raised and its head angled forward, and it is instantly recognisable, whether folded from white paper for a classic look or in any colour for a playful one.
The sequence is a good bridge from the easiest models to intermediate ones. Folding the kite and then narrowing it again teaches accurate alignment on a crease, and turning the paper over between the two narrowing steps shows how the side you fold on changes where the layers end up. Folding the point up and back down makes a pleat that becomes the head. The two outside reverse folds at the end are the highlight: they swing the neck up and point the head forward, and they are the same technique used on the heads and necks of many birds and animals in more advanced origami.
Swans make lovely decorations for weddings, anniversaries and baby showers, and a pair facing each other is a classic motif. Fold them in white, cream or silver for a table, or in pastel colours to float in a shallow bowl as a centrepiece that stays dry. The Whale and the Fish start from the same kite and make a quick set of water animals, the Penguin is a quick flat companion for a winter or ocean scene, and the Paper Crane is a natural next goal once the swan feels easy.
Origami swan: questions
Is the origami swan easy for beginners?+
Yes. Most of the steps are simple valley and mountain folds that line up with a crease or a point. The two outside reverse folds at the end are the only new technique, and they are easier to learn on a swan's neck than on smaller points.
What is the difference between this swan and the 3D swan made of many pieces?+
This swan is folded from a single square without cuts or glue. The large 3D swans made of hundreds of small triangular units are a different technique, often called golden venture or block folding, where many folded pieces are slotted together.
What paper should I use for an origami swan?+
White paper is the classic choice, and a 15 cm square of thin origami paper is easiest. Black paper makes a black swan, and larger squares of around 20 cm make the reverse folds at the neck easier for small hands.
How do I make an outside reverse fold on the neck?+
Crease the fold line well first. Then open the two layers of the neck slightly, push the neck upward so it turns inside out along the crease, with its layers wrapping around the outside of the body, and flatten everything again.
What are origami swans used for?+
They are popular as table decorations at weddings and parties, as place-card holders, and as gift toppers. Folded from napkins or large sheets, the same idea also makes a centrepiece.
Fold this next
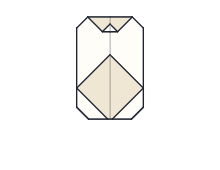
Penguin
The origami penguin is a flat penguin seen from the front, with a dark back and wings, a white belly, a white face and a small dark beak, folded from one square that is dark on one side and white on the other. It is an easy model of six steps that takes about three minutes, using only valley and mountain folds.
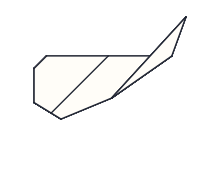
Whale
The origami whale is a flat whale with a large rounded head, a straight back and a tail that rises behind it, folded from a kite shape made from one square. It is an easy model of six steps that takes about four minutes, which makes it a good choice for children and beginners.
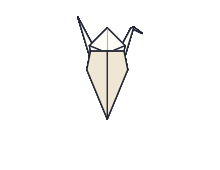
Paper Crane
The origami crane is the traditional Japanese orizuru, a bird with spread wings folded from a single square without cuts or glue. It is an advanced model: expect about 15 minutes for your first one, mostly spent learning the petal fold and inside reverse fold.
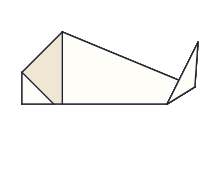
Fish
The origami fish is a simple flat fish with a blunt nose and an upturned tail, folded from a kite shape made from one square. It is easy and takes about four minutes, so it suits children and complete beginners.