How to Fold an Origami Witch Hat
The origami witch hat is a flat Halloween hat with a tall cone, a crooked tip that droops to one side and a wide brim, folded from one square without cuts or glue. It is an easy model with six steps and takes about four minutes, starting from a simple kite.
Quick answerThe origami witch hat is an easy model folded in 6 steps and about 4 minutes, using the crease and kite base. You need a 15 cm (6 in) square, black, purple, orange or green on one side and white on the other.
- Difficulty
- Easy
- Time
- About 4 min
- Steps
- 6
- Paper
- A 15 cm (6 in) square, black, purple, orange or green on one side and white on the other
Lay the square as a diamond with the white side facing up, fold it in half from side corner to side corner, and open it again so a vertical crease runs from top to bottom.
Tip: swipe the diagram, or use ← → on your keyboard. Space plays and pauses.
All steps
Advertisement
Step-by-step instructions
The same 6 steps as the animation above, written out so you can fold away from the screen.
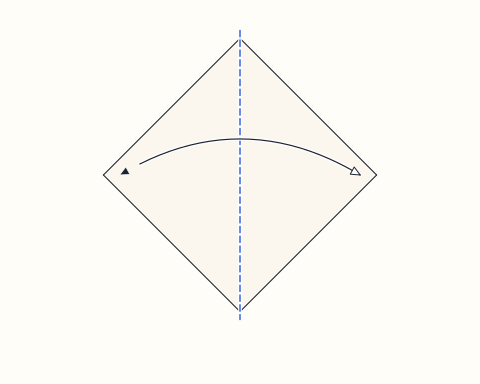
Step 1
Lay the square as a diamond with the white side facing up, fold it in half from side corner to side corner, and open it again so a vertical crease runs from top to bottom.
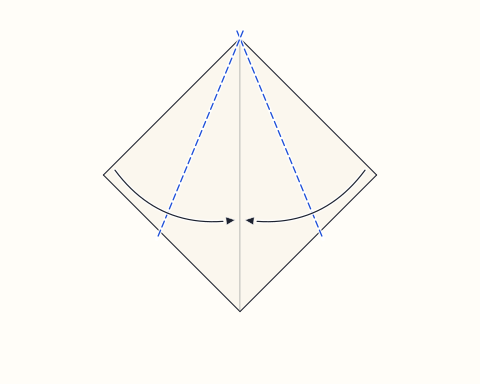
Step 2
Bring the two upper edges in so they lie along the centre crease, making a kite with its long point at the top and a white triangle at the bottom.
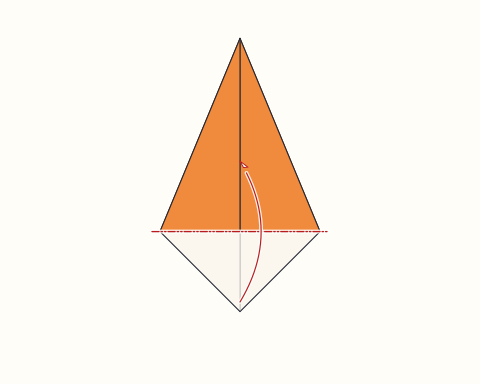
Step 3
Fold the white bottom triangle up behind the model along the line that joins the two side corners, leaving a tall coloured triangle for the cone.
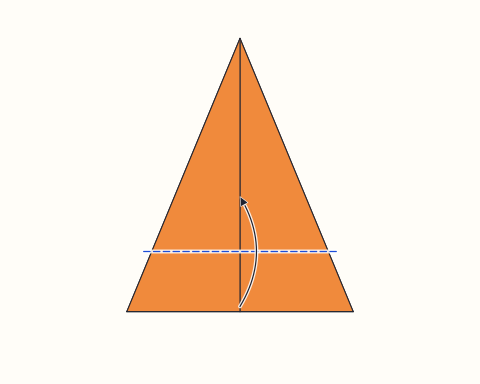
Step 4
Fold the bottom edge up in front by about a fifth of the triangle's height. The ends of this strip stick out past both sides of the cone.
Advertisement
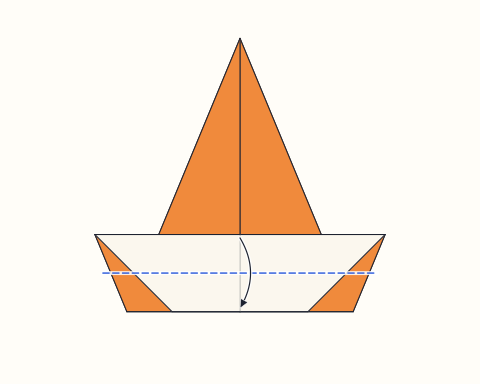
Step 5
Fold the top half of the strip back down so its top edge meets the fold at the bottom. The white part disappears and the strip becomes a wide, coloured brim.
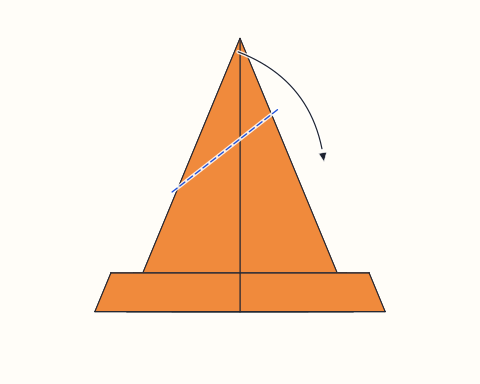
Step 6
Fold the top point over to the right along a slanted line that rises from a little over halfway down the left edge to about a third of the way down the right edge, so the tip pokes out past the right-hand side and droops like a well-worn witch's hat.
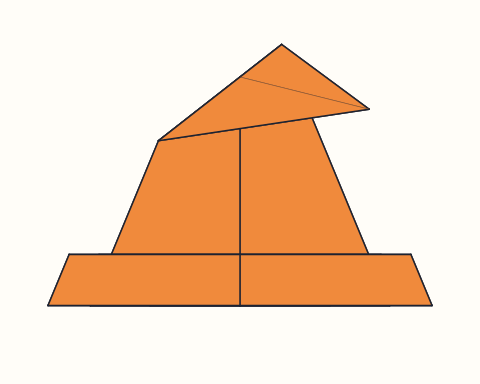
Finished
Your witch hat is finished: a tall cone with a crooked, drooping tip and a wide brim. Draw a buckle or a band on it, glue it to a Halloween card, or make a row of them for a garland.
About the origami witch hat
This witch hat is a simple flat design built on the kite, the shape many first origami models begin with. Two folds turn the square into a tall kite, and folding its white bottom triangle away leaves a clean coloured cone. The brim is made from a strip at the bottom that is folded up and then back down on itself, so its ends stick out past both sides of the cone. A final fold bends the tip over to one side, which gives the hat its familiar crooked, well-worn look.
Along the way the model shows a few useful ideas. The kite teaches how to lay an edge exactly on a crease, the fold behind shows how to hide the white side of the paper, and the brim is a small pleat, one fold up and one fold back, which is a common way to add a wider band to a flat model. The tip fold goes through several layers along a slanted line, so it is also good practice for pressing a firm crease that is not parallel to any edge.
Witch hats are a quick Halloween craft for parties and classrooms. Glue them onto cards and invitations, string them into a garland, use them as place cards or gift tags, or perch small ones on dolls and toy figures as party hats. For a full set, pair the hat with the Origami Ghost, a Cat Face folded from black paper, and bats and pumpkins for a spooky scene.
Origami witch hat: questions
Is the origami witch hat easy for beginners?+
Yes. It starts with a kite, one of the simplest shapes in origami, and every later fold lines up with an edge, a corner or a fold you have already made. Children of about six can fold it with a little help on the brim.
What color paper is best for a witch hat?+
Black is the classic choice, but purple, orange and green all look good for Halloween. Use paper that is colored on one side and white on the other; the white is hidden when you fold the brim, so the finished hat shows only the colored side.
Can I wear this origami witch hat?+
No, this is a flat model designed for cards, garlands and decorations. A small one fits on a doll or toy figure. For a paper hat you can wear, fold the newspaper Paper Hat or the Samurai Helmet from a large sheet.
How do I make the brim wider?+
Fold a taller strip in step 4, then fold its top half down as before. The ends of the strip stick out further, giving a wider brim, but the cone gets a little shorter, so a strip of about a fifth of the height is a good balance.
How can I decorate the witch hat?+
Draw a band just above the brim with a silver or gold pen and add a square buckle, or glue on a strip of contrasting paper. Small star or moon stickers on the cone also suit a Halloween theme.
Fold this next
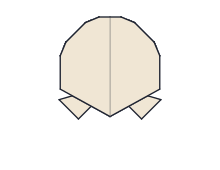
Ghost
The origami ghost is a flat Halloween ghost with a round, domed head and a wavy hem of three points, folded from one square with the white side showing. It is an easy model with five steps and takes about three minutes; you draw the eyes and mouth on at the end.
Paper Hat
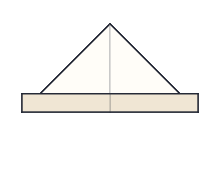
The origami paper hat is the classic triangular newspaper hat, often worn as a pirate or admiral's hat, folded from a single rectangle with no tape. It is an easy model that takes about three minutes, and a double sheet of newspaper makes one big enough for a child or an adult to wear.
Samurai Helmet
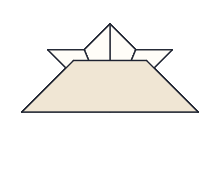
The origami samurai helmet, or kabuto, is a traditional Japanese model with two horns and a brim, folded from one square. It is easy, takes about four minutes, and can be made large enough to wear by using a big newspaper square.
Cat Face
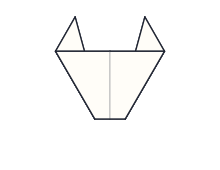
The origami cat face is a kitten's head with two pointed ears and a blunt chin, folded from one square and finished with drawn eyes and whiskers. It is a very easy model with five folds and takes about three minutes, so it suits young children and first-time folders.